Using the KookaCode Application
This guide explains how to use the KookaCode application to create and un MicroPython scripts for the Kookaberry.
To learn about MicroPython scripting for the Kookaberry, please refer to the Kookaberry Reference Guide.
Launching KookaCode using a compatible browser on a personal computer will result in the display shown:
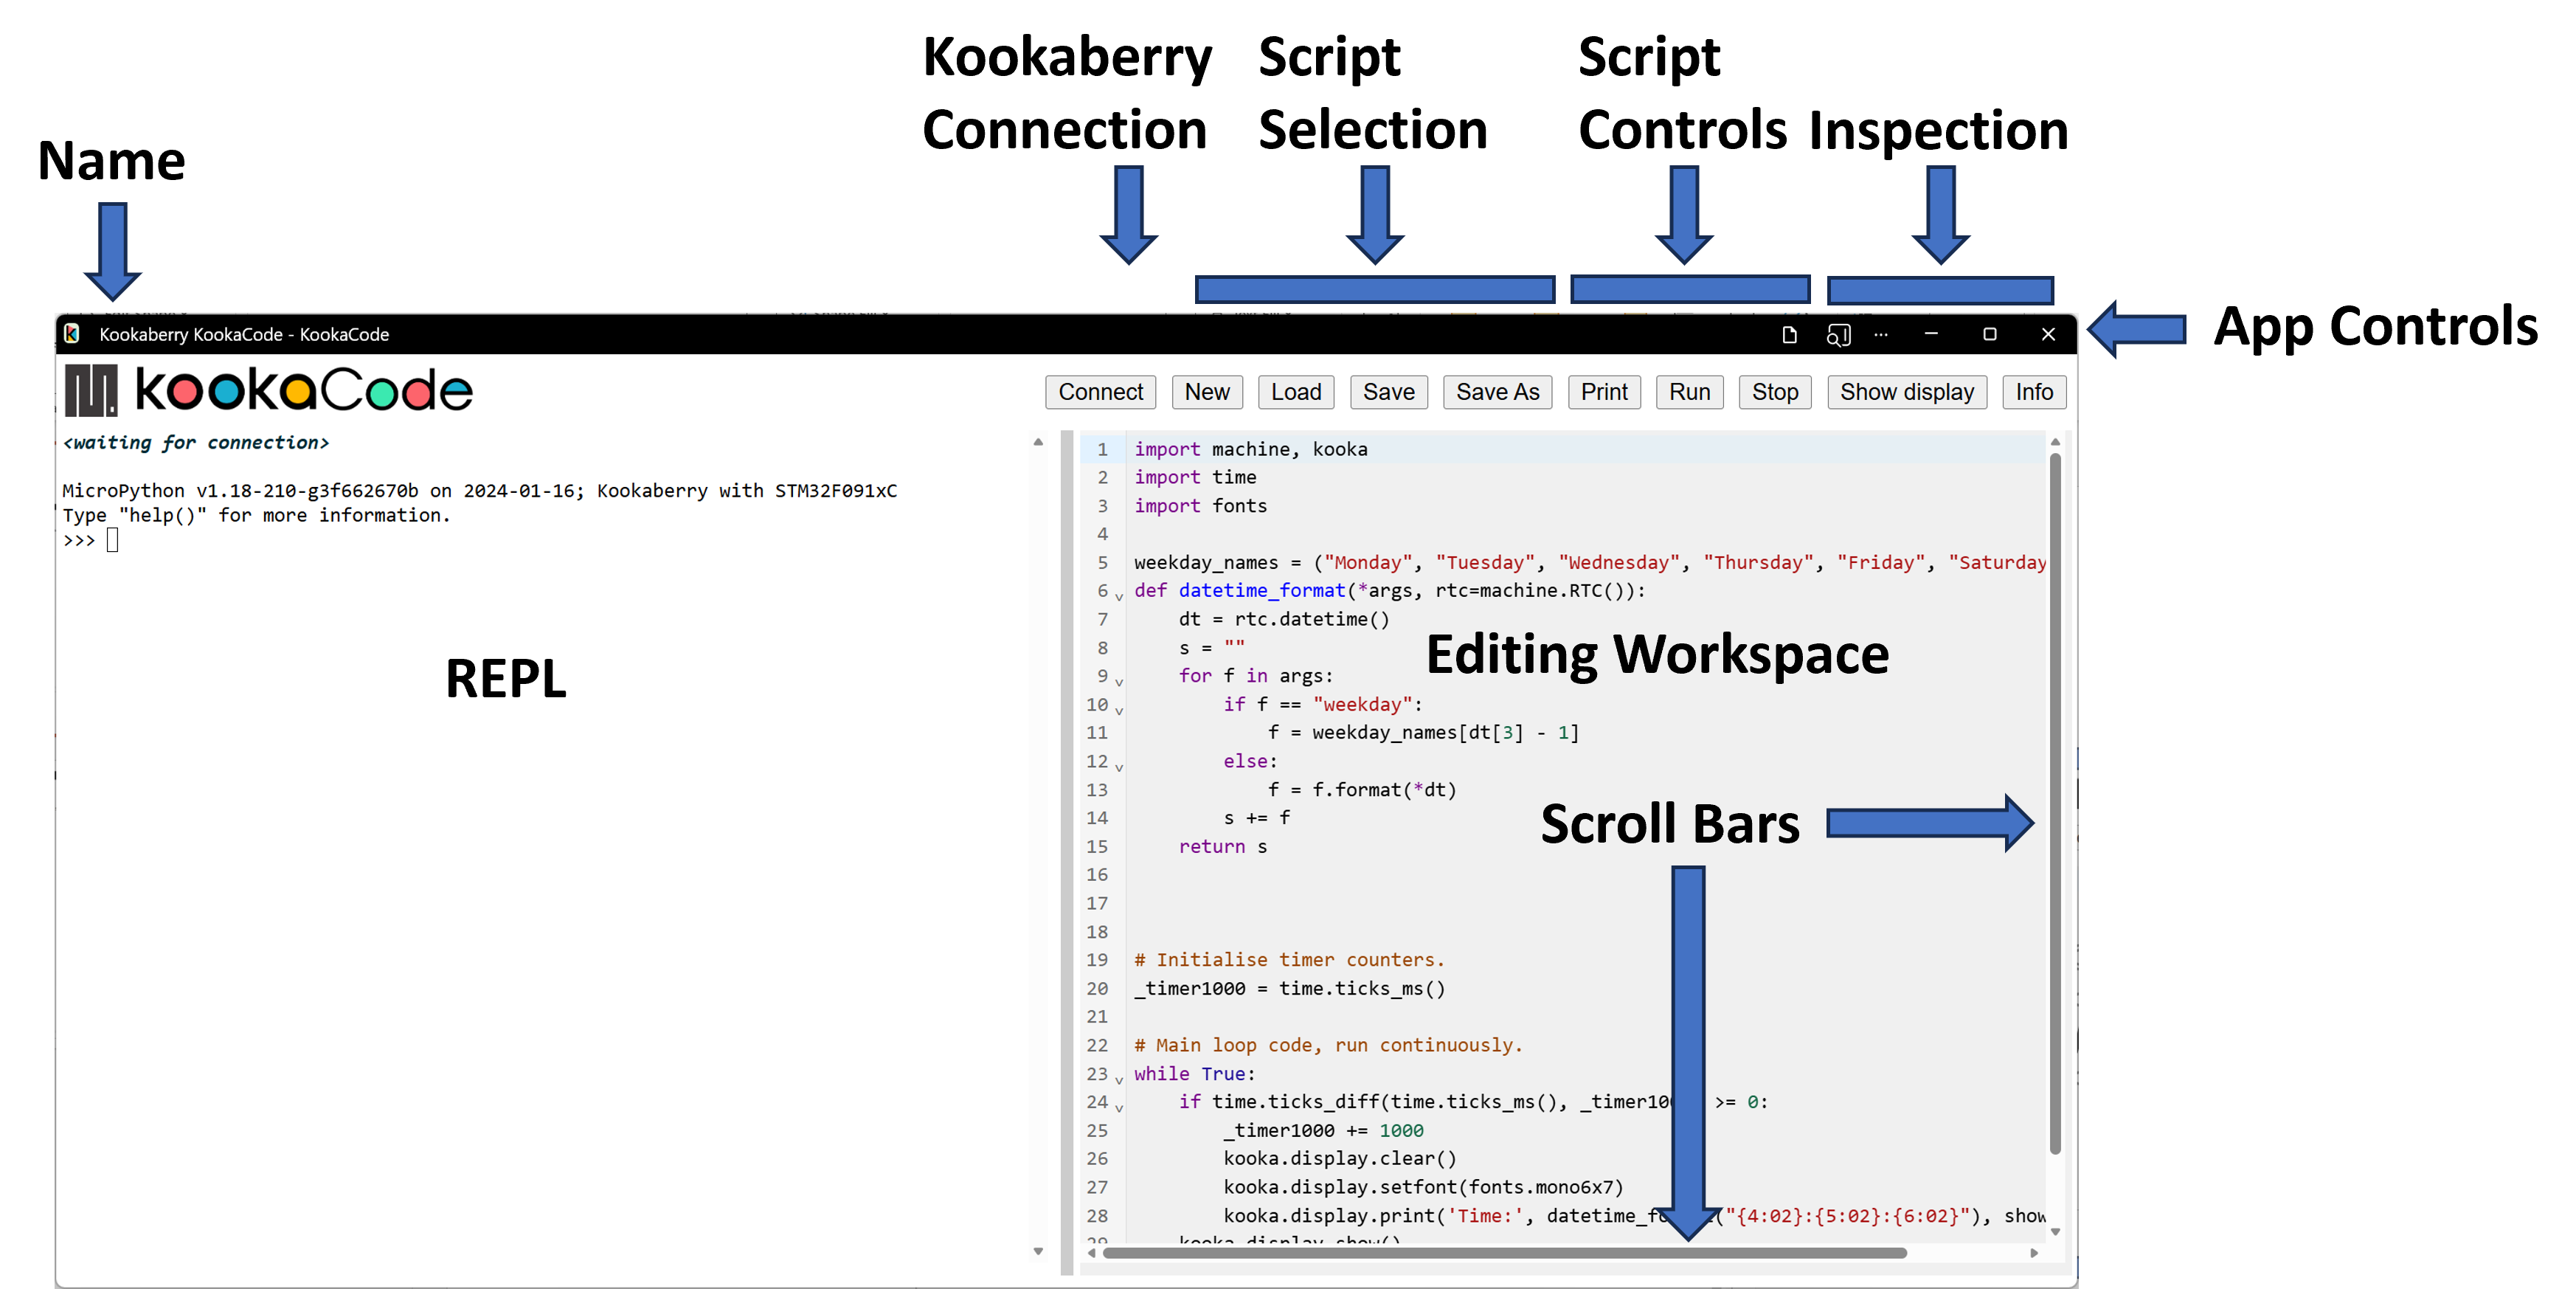
Fig. 3 This is the KookaCode display with the controls labelled.
The application window has numerous controls, as are described below:
Name
The PWA name KookaCode is shown at the top-left of the KookaCode window.
Note
The latest version of KookaCode can be conveniently updated from the website by refreshing the browser window using the key combination ctrl-R.
See the section Access and Install KookaCode for instructions on installing / uninstalling KookaCode on the various supported we browsers.
App Controls
These controls allow the KookaCode window to be minimises or maximised, and the KookBlocs application to be exited.
Depending on the web browser being used, there may be other controls for browser settings and functions. Fig. 4 shows the appearance of these controls for the Microsoft Edge browser.

Fig. 4 The KookaCode PWA Controls
Important
If the KookCode script has not been saved before attempting to exit KookaCode will exit anyway - it does not keep track of whether there are unsaved edits. Please be careful to regularly save your work!
Resizing of the window can also be accomplished by clicking on the window edges and dragging to resize.
Editing Workspace
On the right is the KookaCode Editing Workspace for MicroPython script.
Scripts can be typed, loaded from file, copied, cut and pasted in this space, by using a keyboard and mouse or track-pad or pointing device.
KookaCode embeds the CodeMirror open‑source text editor to provide an in‑browser coding experience tailored for Python. The editor offers Python-aware syntax highlighting, so language constructs such as keywords, strings, numbers, comments, and built‑ins are visually distinguished to improve readability and reduce syntax errors. It also supports automatic indentation and standard code-editing features such as line numbers, bracket matching, and configurable themes for a familiar development environment.
Python auto-completion is enabled to suggest variable names, functions, and other identifiers as you type, helping you write code faster and with fewer typos. Completion suggestions appear in a popup list that you can navigate with the keyboard, and a dedicated shortcut (commonly Ctrl+Space) lets you trigger suggestions on demand. Together, these features make the editor suitable for tasks ranging from quick code snippets to more substantial Python script development directly in the browser.
The script editor has numerous keyboard shortcuts for editing commands:
Action |
Windows / Linux |
macOS |
|---|---|---|
Select all |
Ctrl + A |
Command + A |
Undo |
Ctrl + Z |
Command + Z |
Redo |
Ctrl + Y |
Command + Y |
Delete current line |
Ctrl + D |
Command + D |
Move to start of document |
Ctrl + Home |
Command + Home |
Move to end of document |
Ctrl + End |
Command + End |
Move to start of line |
Home |
Home |
Move to end of line |
End |
End |
Indent line/selection |
Ctrl + ] |
Command + ] |
Dedent line/selection |
Ctrl + [ |
Command + [ |
Auto-indent line/selection |
Shift + Tab |
Shift + Tab |
Insert tab / indent selection |
Tab |
Tab |
New line with auto‑indent |
Enter |
Enter |
Find |
Ctrl + F |
Command + F |
Find next |
Ctrl + G |
Command + G |
Find previous |
Shift + Ctrl + G |
Shift + Command + G |
Replace |
Shift + Ctrl + F |
Shift + Command + F or Command + Option + F |
Save (if bound by host app) |
Ctrl + S |
Command + S |
Selecting text and right-clicking open a context-sensitive menu of available actions.
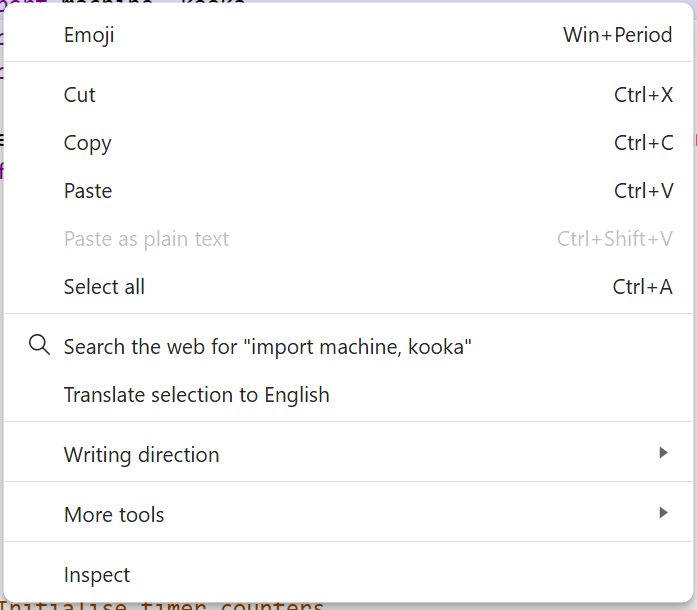
Fig. 5 The right-click context-sensitive menu
Note
The context-sensitive menu is generated by the web browser used for the PWA and most of the available options pertain to web browser functions.
REPL (Read-Eval-Print Loop)
REPL stands for Read-Eval-Print Loop. It provides an interactive programming environment where the computer reads the user’s input, evaluates it, prints the result, and then loops back to read more input.
The REPL is also known as The MicroPython Interactive Interpreter Mode which is fully described in the MicroPython REPL Documentation.
The REPL communicates with the connected Kookaberry’s’ console and displays all the console output (e.g. the output of print() statements)
as well as any error messages. In this way it is very useful for debugging scripts that are run on the connected Kookaberry.
Script Controls
At the top of the window, a set of buttons with which KookaCode scripts may be created, loaded, saved, run, stopped, and inspected. See Fig. 6.

Fig. 6 The KookaCode Script Control Buttons
The functions of each of the KookaCode Script Control buttons are:
- Connect
Clicking the Connect button opens a dialogue window which shows which serial USB ports are available and which is connected to a tethered Kookaberry. Plugging in a Kookaberry usually automatically assigns a USB serial port. Select the serial port by clicking on it and then click the Connect button. See Fig. 7.
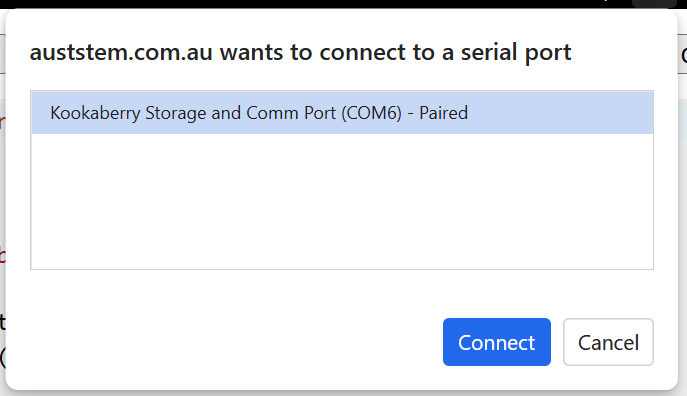
Fig. 7 The Serial dialogue showing the available and used USB serial connection ports
- New
Empties the Editing Workspace to start a new script.
Any present script is deleted, regardless of whether it has been saved to file or not, and there is no confirming dialogue or opportunity to cancel this action.
Important
Please be sure to Save your scripts regularly as there is no way to recover lost unsaved scripts or script modifications!
- Load
The Load button allows the user to select a MicroPython script file to be loaded into the Editing Workspace. This action will replace any script that already exists in the Editing Workspace.
Move the cursor to this button, press click on the mouse and the dialogue in Fig. 8 will be displayed.
MicroPython script files usually have a type designation of
.py.Selecting a script and pressing the dialogue’s Open button, or alternatively double-clicking on a selected MicroPython script file will place a copy of that script in the KookaCode Editing Workspace from where it can be modified, saved and run on the Kookaberry.
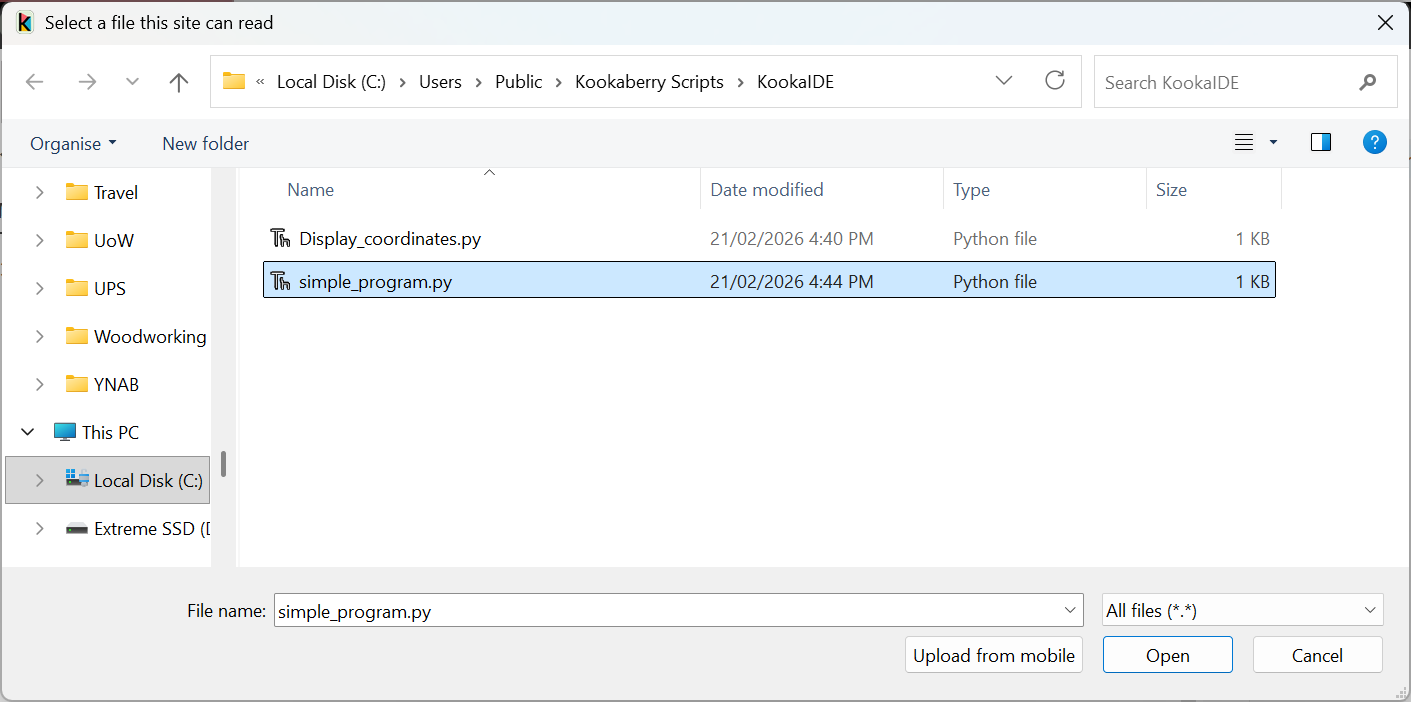
Fig. 8 KookaCode script load file selection dialogue.
- Save
Scripts that are loaded or created are regarded as newly-created scripts.
The Save button has two behaviours:
On the first click it will open the Save As file dialogue in which the location and name of the script file is entered. There are some confirmation dialogues that will then occur. These are more fully described in Save As description.
Thereafter, the currently open script will be save into the same file with a confirming dialogue. Click on the OK button to close the dialogue.
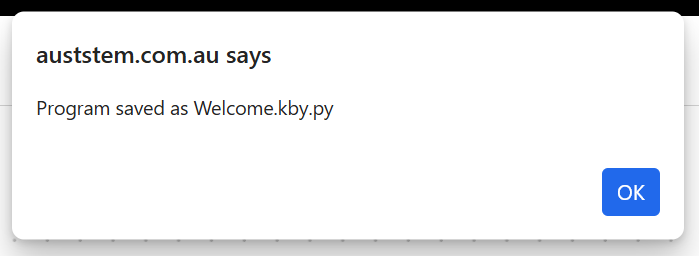
Fig. 9 KookaCode file saved confirmation dialogue.
- Save As
Saves the current script to a new file within a selected folder.
Move the cursor to this button, press click on the mouse and the file dialogue in Fig. 10 will be displayed:
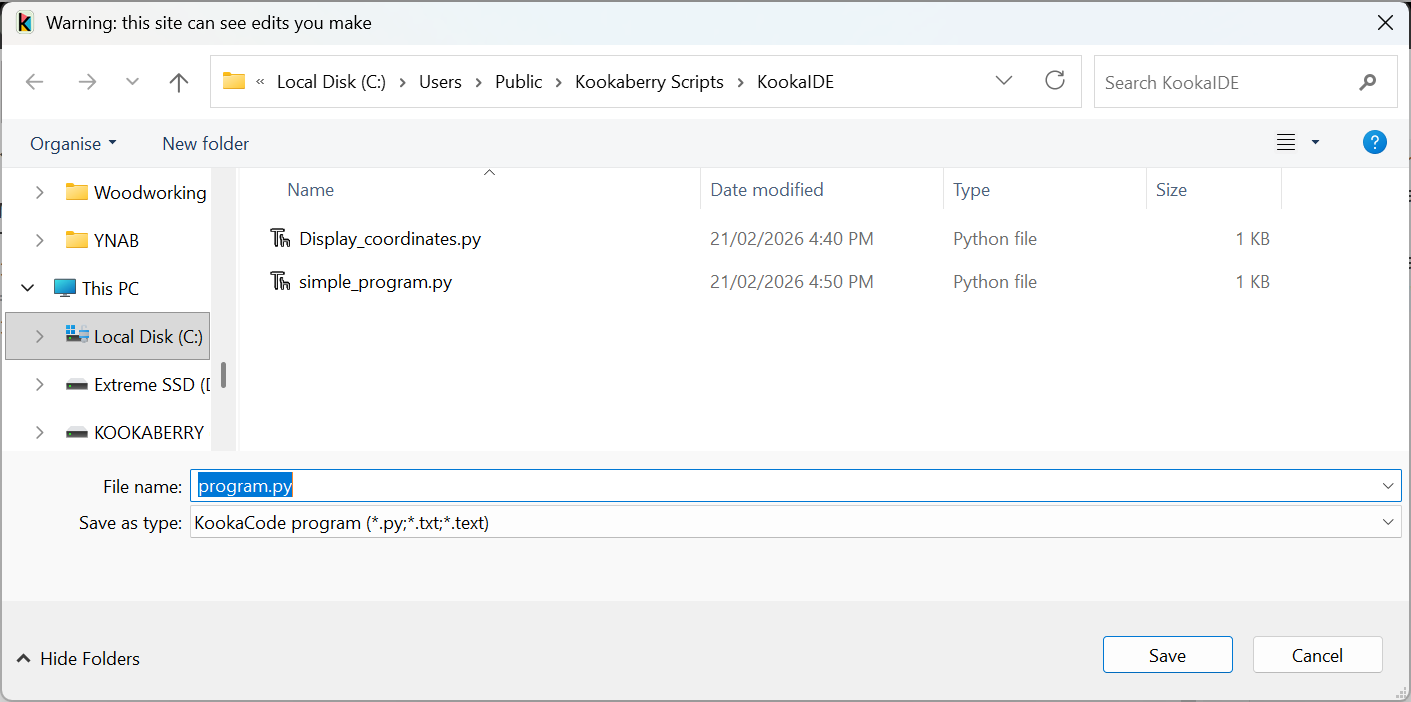
Fig. 10 KookaCode script Save / Save As file selection dialogue.
KookaCode script files have a type designation of .py.
The default file name will be the name of the last file loaded, or if the script is newly created will be program.py.
If required, edit the new file’s name and press the dialogue’s Save button to save the current script to the file.
If the file already exists, another dialogue shown in Fig. 11 will open asking to confirm whether the existing file is to be replaced. Press Yes to overwrite the file, or No to go back and change the intended file name. Please note that the appearance of this dialogue is dependent on the browser and operating system being used.
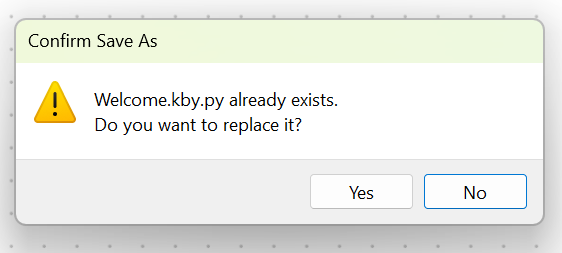
Fig. 11 KookaCode existing file name dialogue.
A second confirmation dialogue will then appear warning that a Python file can be dangerous and that it should only be saved if the KookaCode app is trusted. Confirm the save by clicking the Save button, or cancel the save by clicking Don’t Save. By cancelling, the script will not have been saved.
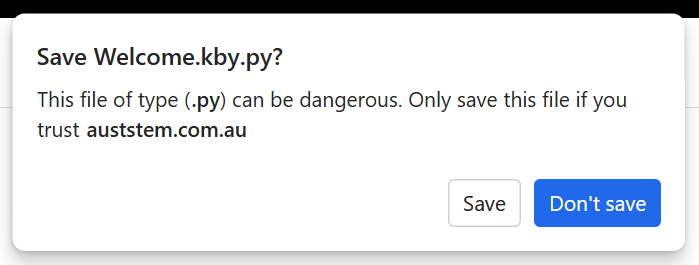
Fig. 12 KookaCode confirm file save dialogue.
Subsequent script edits in the current editing session can be saved into the already identified file by clicking on Save.
Prints the current view of KookaCode’s window. The contents will vary according to the web browser and operating system that is being used.
On Chrome and Vivaldi the full window is printed. See Fig. 13
On Edge, only the contents of the REPL are printed. See Fig. 14.
When the Print button is clicked, a Print dialogue (per the operating system convention) appears as below.
Choose the print options, which again are specific to the PC operating system and the installed printer, and then press the Print button to finalise printing options and then printing to the chosen printer.
Print options may include paper size, paper orientation, scaling, multi-page layout, printer selection and printer setup.
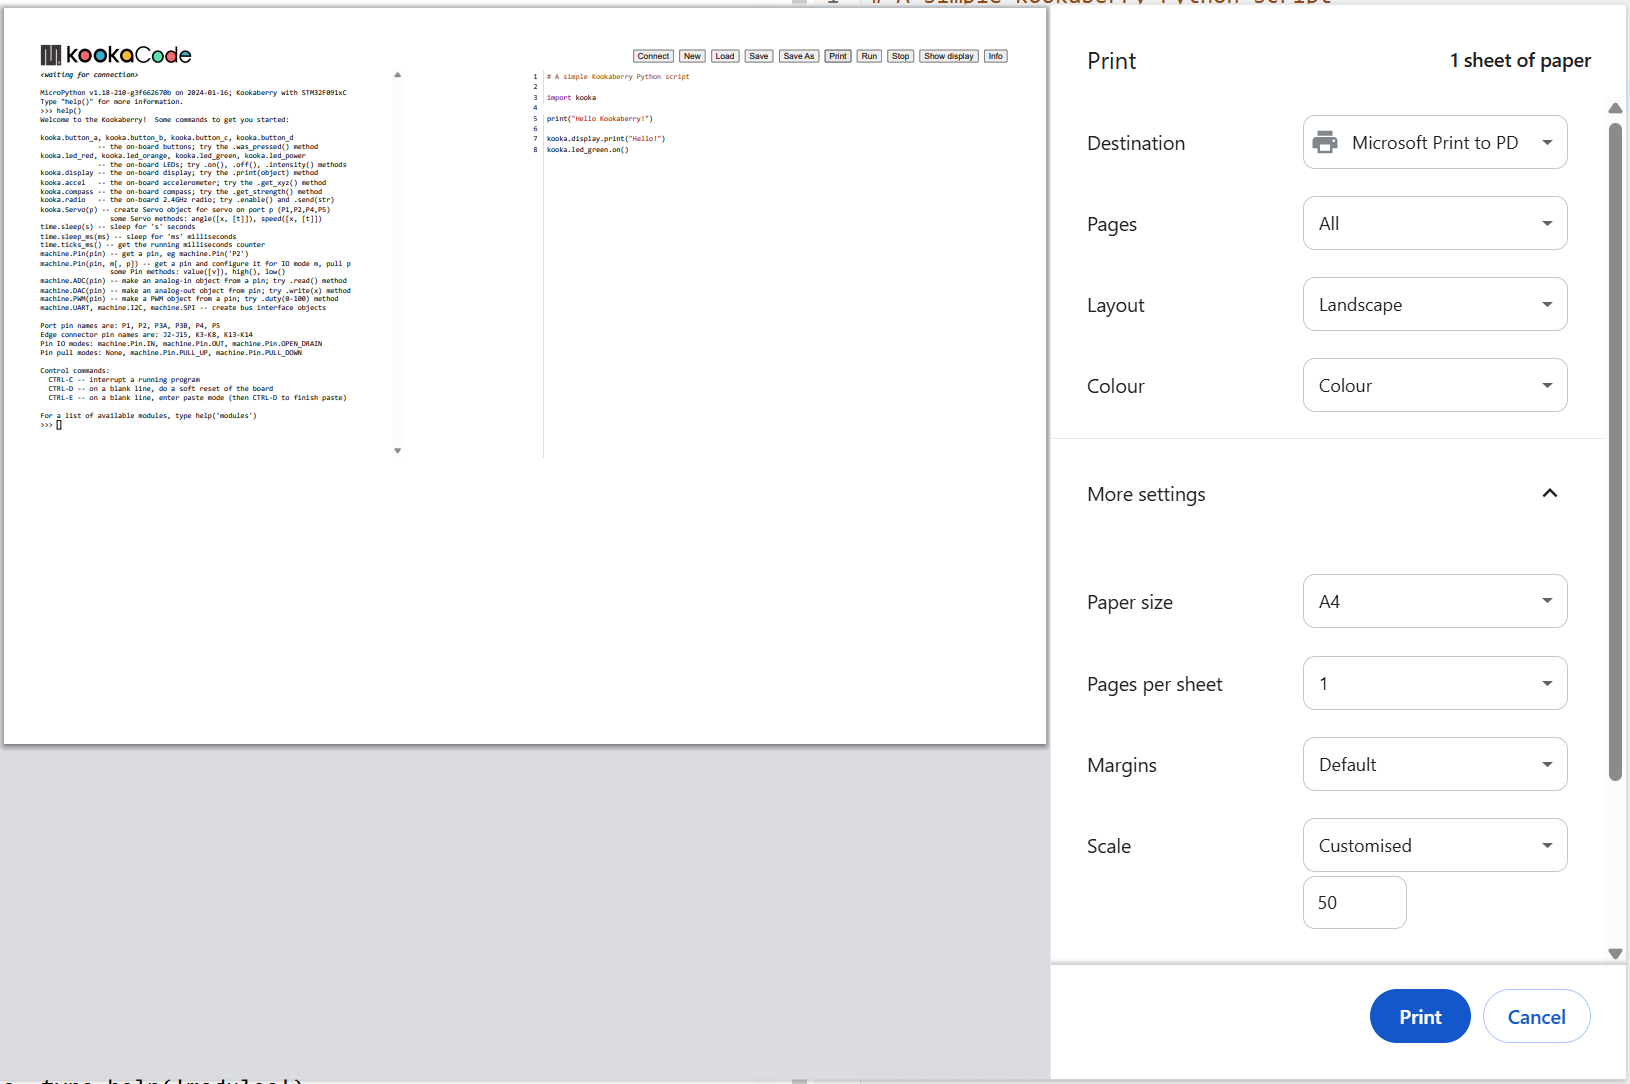
Fig. 13 KookaCode Print dialogue on the Chrome and Vivaldi browsers.
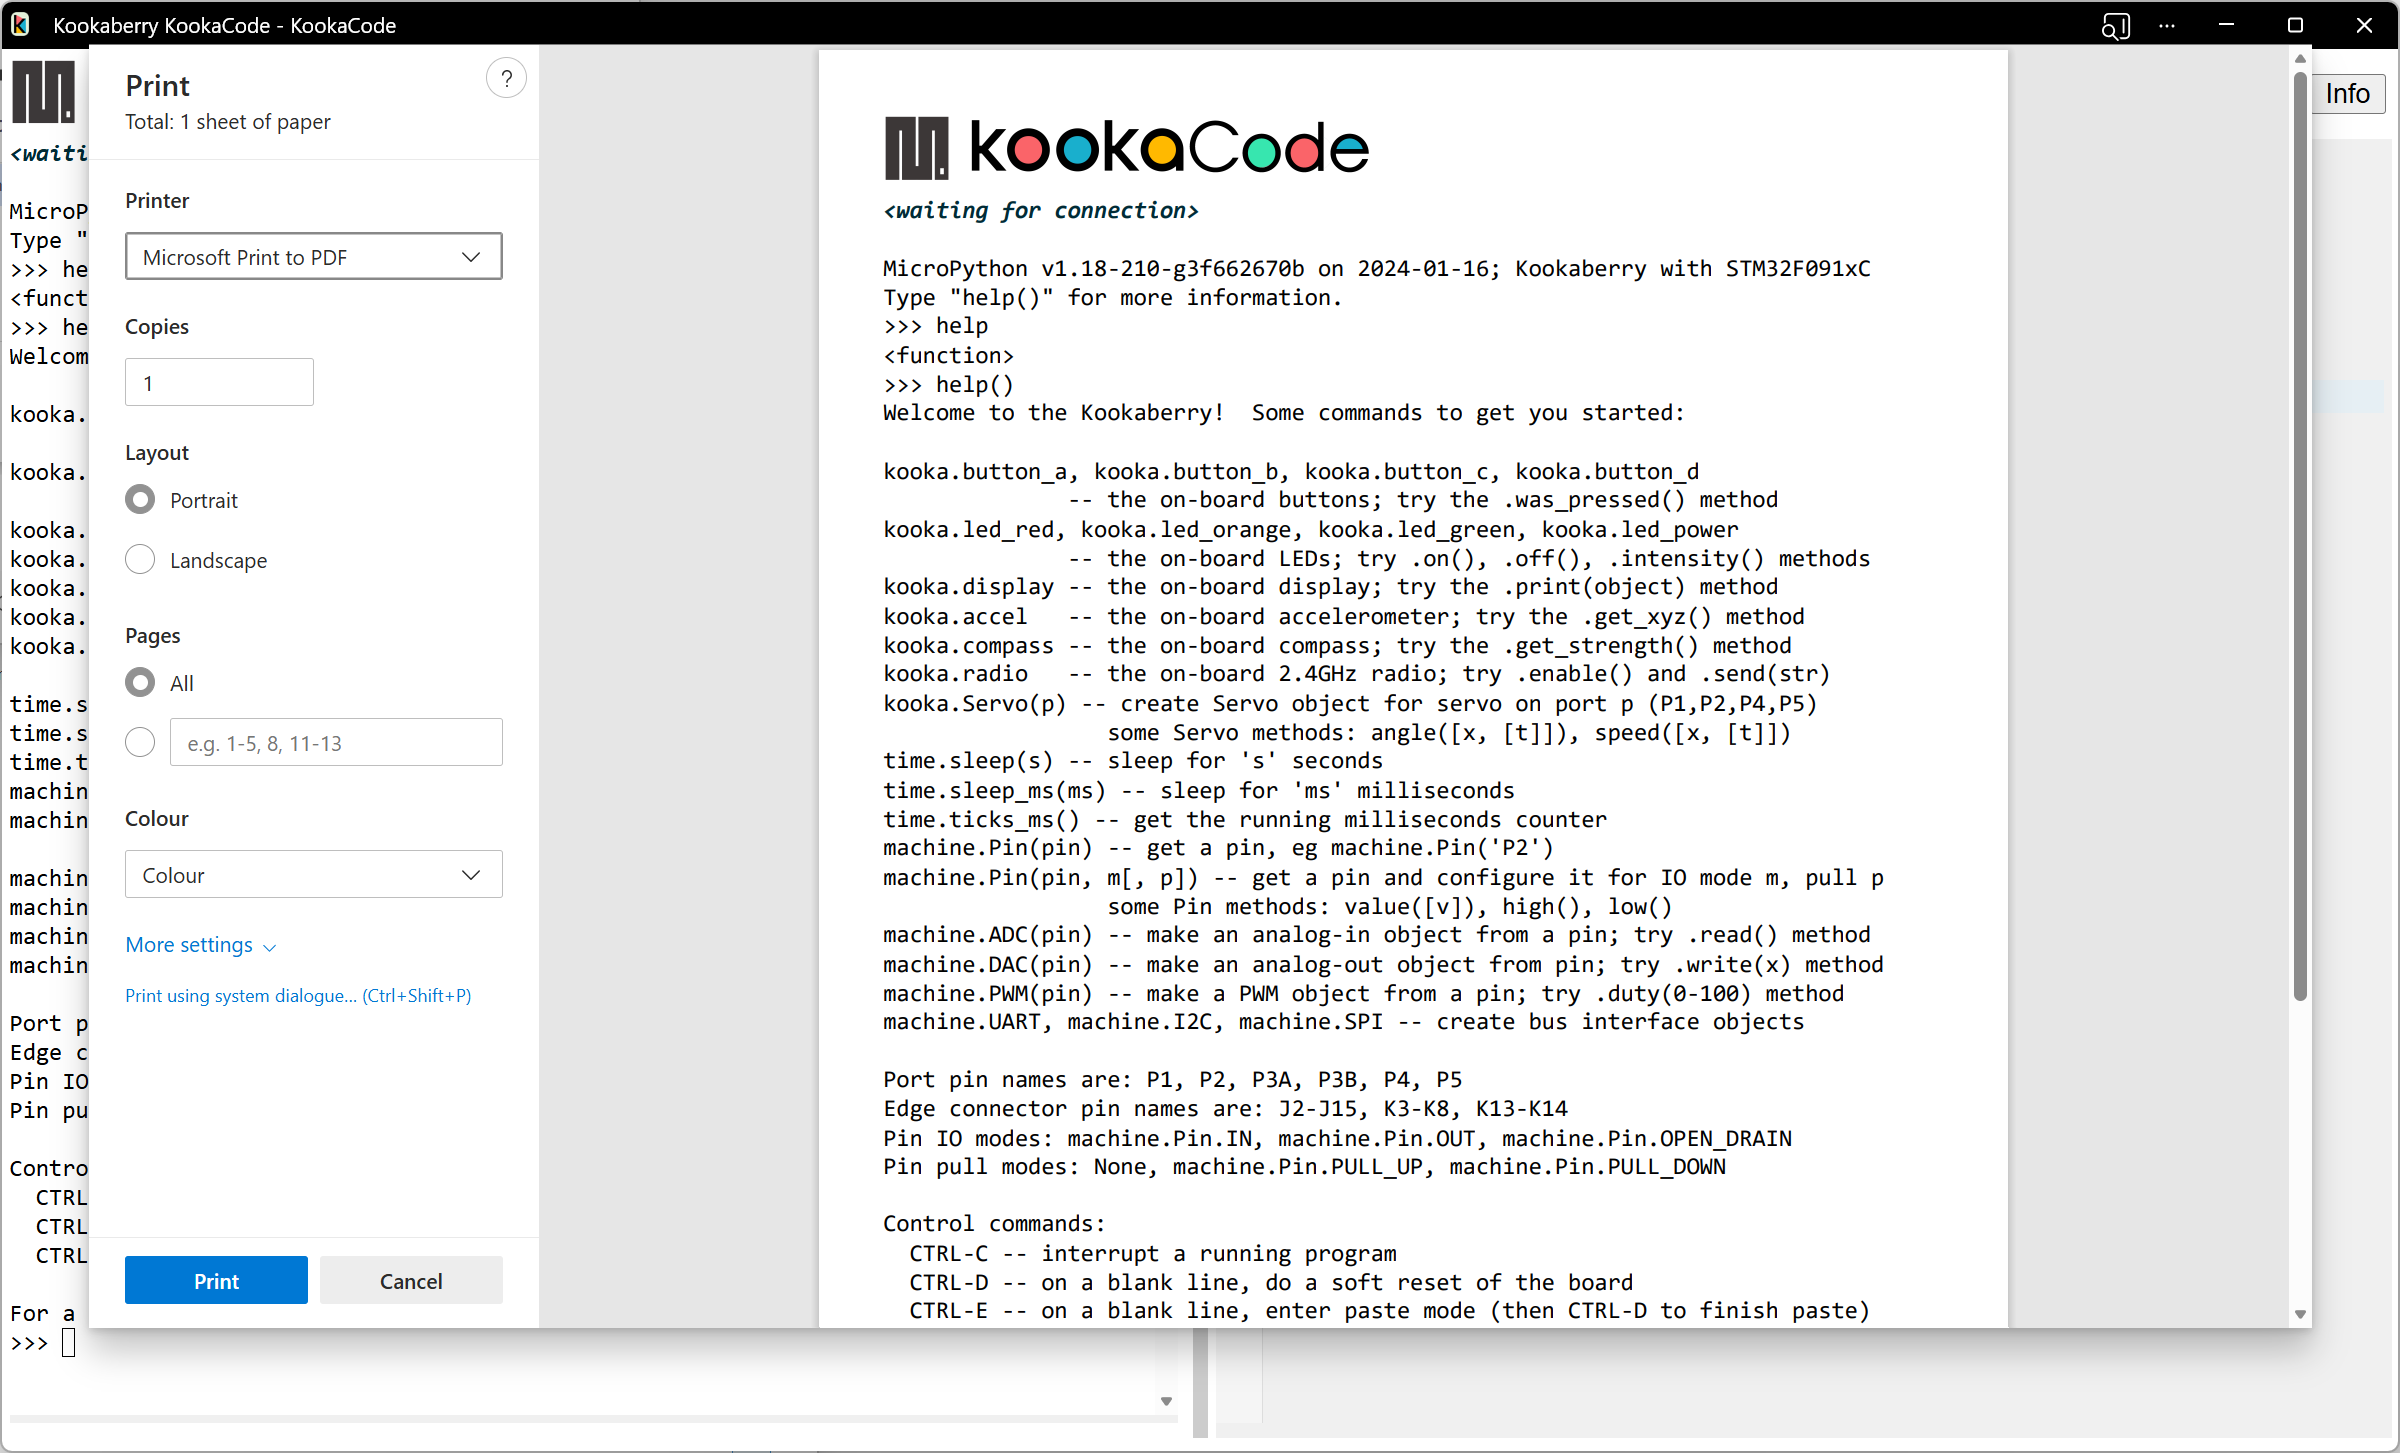
Fig. 14 KookaCode Print dialogue on the Edge browser.
- Run
Transfers the current script to the tethered Kookaberry and runs the script on the Kookaberry.
If a Kookaberry has not been already connected, the Connect dialogue will first appear.
- Stop
Terminates the script currently running on the tethered Kookaberry.
- Show display
This button which will open a window, shown in Fig. 15, on which the attached Kookaberry is shown in virtual form. This includes the Kookaberry’s display, LEDs, buttons A to D and reset, and a button to start the Kookaberry’s internal menu.
The display will mirror the physical display on the Kookaberry.
The LEDs will change colour to mirror illumination of the real LEDs on the Kookaberry.
The buttons can be clicked using a mouse or track-pad on the PC, and will respond in the same way as the physical buttons on the Kookaberry.
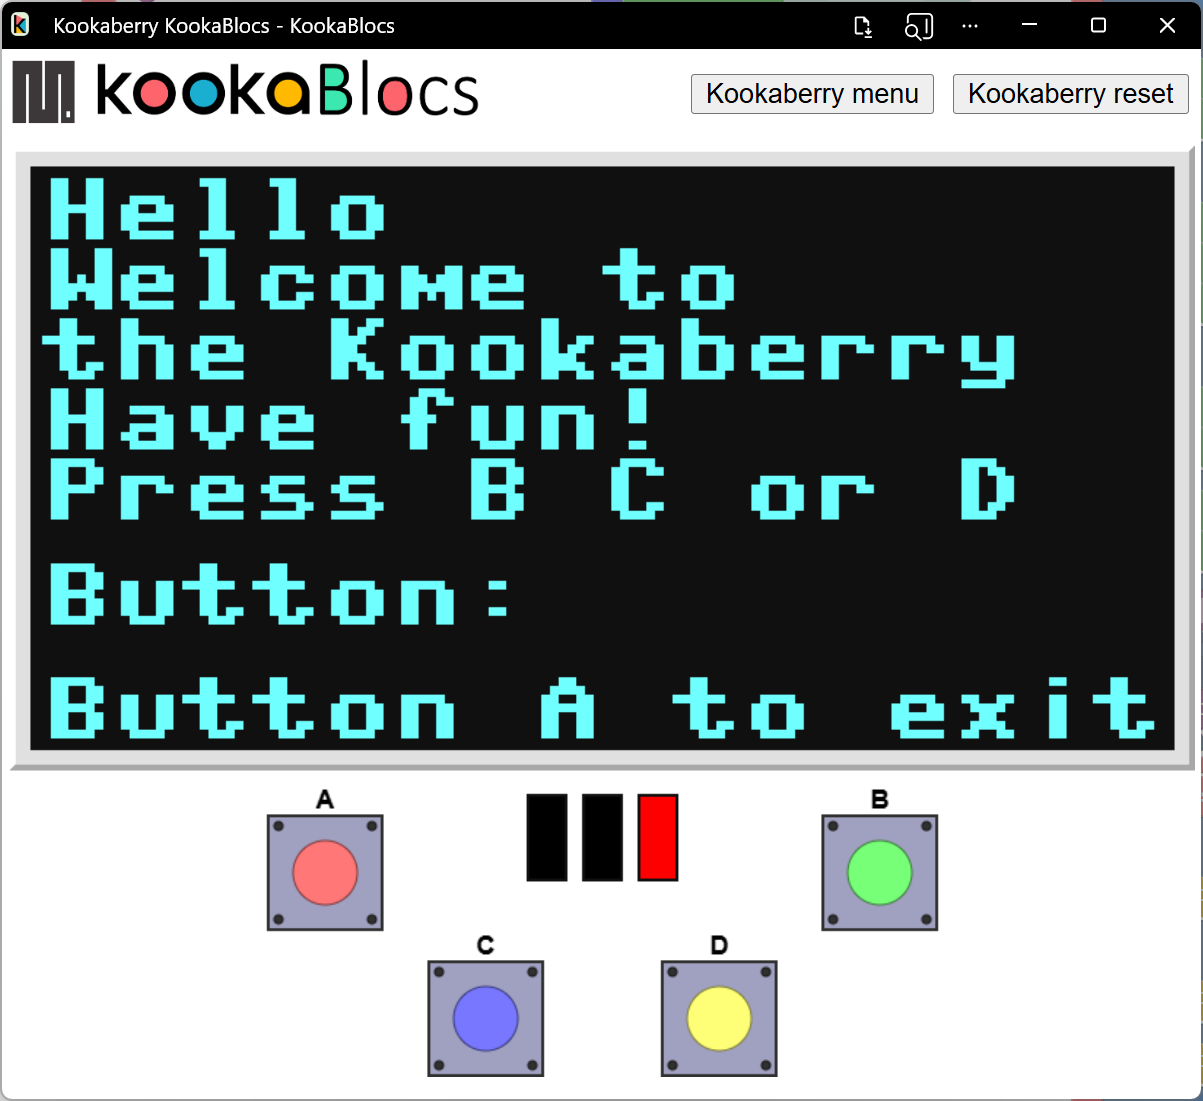
Fig. 15 Virtual Kookaberry window
Note
It is also possible to load Kookaberry firmware onto standard Pi Pico microcomputer boards. These boards do not have the physical Kookaberry display, LEDs or buttons.
In this case the virtual Kookaberry window can be used to view and operate the Kookaberry’s user interface.
the “Kookaberry Reset” button replicates the hardware Reset button the Kookaberry
the “Kookaberry menu” button replaces the “hold down button B and press and release Reset” on a physical Kookaberry
the three LEDs replicate the three hardware LEDs on the Kookaberry
the four buttons A, B, C and D, replicate the physical buttons on the KookaBerry
- Info
The Info button will open a dialogue with three buttons:
About will show a short descriptive text About KookaCode
Disclaimer will show a short legal disclaimer and the terms of use for KookaCode.
Documentation will show the links to KookaCode and related documentation, including to this Reference Guide.
To close the dialogue, click on the small exit icon or click on the KookaCode Workspace.

Fig. 16 KookaCode info window
Scroll Bars
The scrollbars appear when the MicroPython script in the Editing Workspace is too wide or too long to wholly fit in the editing window.
There are horizontal and vertical scrollbars for positioning the script within the window. Click on a scrollbar and drag it up/down or left/right as appropriate to reposition the script in the window.